Welcome to part one of this series which will help you create your a roguelike game written in Go! This is based largely on the Roguebasin libtcod tutorial, which has proven very helpful in getting fledgling roguelike-devs off the ground.
If you haven't already completed the steps outlined in Part 0, please go back and do that now.
With our dependencies installed and validated, let's grab a few neat tiles created by by Jere Sikstus. Download wall.png and floor.png and place them in a folder called assets/ inside our project folder.
Humble Beginnings
Let's refactor our Hello, World from Part 0 into something we can continue to use.
Go ahead and remove the contents of the Draw() and add a new function just beneath the definition of the Game type.
// Creates a new Game object and initializes the data.
func NewGame() *Game {
    g := &Game{}
    return g
}
This constructor will create a new Game object for us, which is currently empty, but will be expanded as we continue along.
Now change the contents of our main function:
func main() {
    g := NewGame()
    ebiten.SetWindowTitle("Grogue")
    ebiten.SetWindowResizingMode(ebiten.WindowResizingModeEnabled)

    if err := ebiten.RunGame(g); err != nil {
        log.Fatal(err)
    }
}
This code should be fairly self-explanitory: create a new game, set the window title to "Grogue," allow the window to be resized, then run the game and log any crashes.
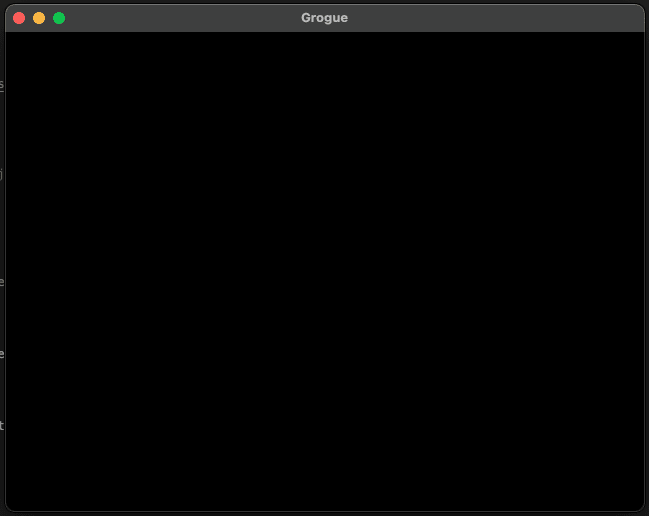
Run your code with go run . and you should see the following:

The Simplest of Maps
We've created an empty window. It's a start, but we still have more to do in this part.
Let's create a new file called level.go, which will hold our code related to the game's level. Add the following to the file:
package main

import (
    "log"

    "github.com/hajimehoshi/ebiten/v2"
    "github.com/hajimehoshi/ebiten/v2/ebitenutil"
)
This should look similar to the top of main.go in part 0.
Create a struct for holding our static game data and a constructor to go with it:
type GameData struct {
    ScreenWidth int
    ScreenHeight int
    TileWidth int
    TileHeight int
}

// Creates a new instance of the static game data.
func NewGameData() GameData {
    gd := GameData{
        ScreenWidth: 80,
        ScreenHeight: 50,
        TileWidth: 16,
        TileHeight: 16,
    }
    return gd
}
Here we set that our tiles are 16x16 and that our screen is 80 tiles wide and 50 tiles high. However, if you multiply these values, you'll notice that it doesn't match the screen size we set in the Layout() function in main.go. So, let's fix that.
func (g *Game) Layout(outsideWidth, outsideHeight int) (screenWidth, screenHeight int) {
    gd := NewGameData()
    return gd.TileWidth * gd.ScreenWidth, gd.TileHeight * gd.ScreenHeight
}
This will utilize that GameData struct we just created to calculate the size of the window, so we shouldn't need to change this again if we decided to modify the values inside NewGameData().
Since most roguelikes are tile-based, we should probably create a structure to hold our individual tiles on the map.
type MapTile struct {
    PixelX int
    PixelY int
    Blocked bool
    Opaque bool
    Image *ebiten.Image
}
This hold the X and Y values (PixelX and PixelY, respectively) of the upper left corner of the tile, whether or not this tile blocks creatures' movement, whether or not the tile can been seen through, and a pointer to the ebiten.Image object storing the actual graphic for the tile.
Since we will be storing each of our 4,000 (80 columns x 50 rows) tiles in one of these, we should optimize their storage which means storing them in a single slice instead of a two dimensional array. We'll then create a quick helper function to return the index of the tile based on X and Y coordinates.
// Returns the logical index of the map slice from given X and Y tile coordinates.
func GetIndexFromCoords(x int, y int) int {
    gd := NewGameData()
    return (y * gd.ScreenWidth) + x
}
Since we'll be creating a lot of tiles, we should create a MapTile constructor.
const (
    TileFloor string = "floor"
    TileWall  string = "wall"
)

// Creates a MapTile of a given type at pixels x, y.
//
//  Supported types include 'Floor' and 'Wall'
func NewTile(x int, y int, tileType string) (MapTile, error) {
    blocked := true
    opaque := true

    image, _, err := ebitenutil.NewImageFromFile("assets/" + tileType + ".png")
    if err != nil {
        return MapTile{}, err
    }

    if tileType == TileFloor {
        blocked = false
        opaque = false
    }

    tile := MapTile{
        PixelX:  x,
        PixelY:  y,
        Blocked: blocked,
        Opaque:  opaque,
        Image:   image,
    }
    return tile, nil
}
This defines a set of constants for the types of tiles we have and makes it easier to extend later when we want to add doors or stairs.
Then, we utilize ebitenutil.NewImageFromFile() to load one of the tiles we added, set the properties of the tile, and return it. Since we're using PNG images, we'll need to add _ "image/png" to the import section, making it look like this:
import (
    _ "image/png"
    "log"

    "github.com/hajimehoshi/ebiten/v2"
    "github.com/hajimehoshi/ebiten/v2/ebitenutil"
)
Since we are going to be creating a lot of tiles, we should probably have something better than a simple slice to store them. Create a new structure called Level and give it a constructor.
type Level struct {
    Tiles []MapTile
}

// Creates a new Level object
func NewLevel() Level {
    l := Level{}
    return l
}
Once we have those in place, let's create a private function that builds the initial map: all floor tiles bordered by a wall.
// Creates a simple map in level.Tiles
func (level *Level) createTiles() {
    gd := NewGameData()
    tiles := make([]MapTile, gd.ScreenHeight*gd.ScreenWidth)

    for x := 0; x < gd.ScreenWidth; x++ {
        for y := 0; y < gd.ScreenHeight; y++ {
            idx := GetIndexFromCoords(x, y)
            if x == 0 || x == gd.ScreenWidth-1 || y == 0 || y == gd.ScreenHeight-1 {
                wall, err := NewTile(x*gd.TileWidth, y*gd.TileHeight, TileWall)
                if err != nil {
                    log.Fatal(err)
                }
                tiles[idx] = wall
            } else {
                floor, err := NewTile(x*gd.TileWidth, y*gd.TileHeight, TileFloor)
                if err != nil {
                    log.Fatal(err)
                }
                tiles[idx] = floor
            }
        }
    }
    level.Tiles = tiles
}
Now update the Level constructor to call CreateTiles(), adding the following line before the return call:
l.createTiles()We should also create a Draw() function that draws the current level.
// Draw the current level to 'screen'.
func (level *Level) Draw(screen *ebiten.Image) {
    gd := NewGameData()
    for x := 0; x < gd.ScreenWidth; x++ {
        for y := 0; y < gd.ScreenHeight; y++ {
            tile := level.Tiles[GetIndexFromCoords(x, y)]
            op := &ebiten.DrawImageOptions{}
            op.GeoM.Translate(float64(tile.PixelX), float64(tile.PixelY))
            screen.DrawImage(tile.Image, op)
        }
    }
}
With that complete, we're finished with level.go for this part. Save the file and return to main.go.
In our Game struct, add the following:
Levels []Leveland add the following line to the NewGame() function just above the return statement:
g.Levels = append(g.Levels, NewLevel())Now the game will load our map as the first level.
Finally, we need to go into the Draw() function and have it actually draw the map.
    gd := NewGameData()
    level := g.Levels[0]
    for x := 0; x < gd.ScreenWidth; x++ {
        for y := 0; y < gd.ScreenHeight; y++ {
            tile := level.Tiles[GetIndexFromCoords(x, y)]
            op := &ebiten.DrawImageOptions{}
            op.GeoM.Translate(float64(tile.PixelX), float64(tile.PixelY))
            screen.DrawImage(tile.Image, op)
        }
    }
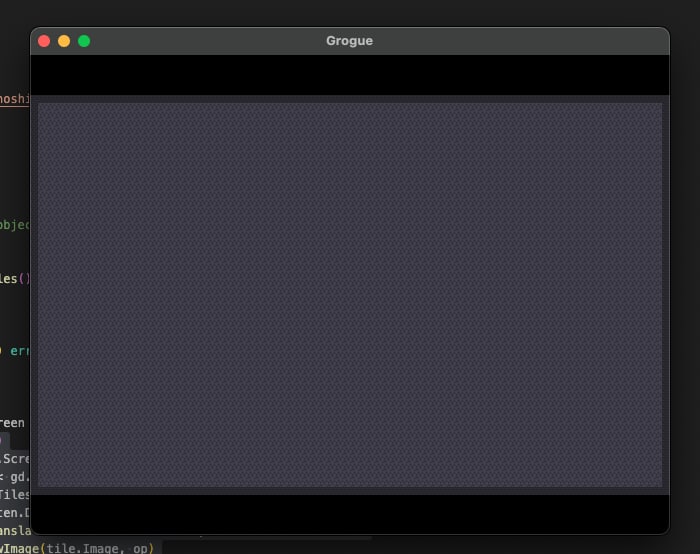
Now if you run the game (go run .), you should see the following:

That's it for this part. We've added the basic structures to hold a map, a very simple map creation function, and have rendered it to the screen.
You can view the complete source code here and if you have any questions, please feel free to ask them in the comments.